All Change / Goodbye Domain
Since the end of our IRL club meetings, I’ve found it hard to find the time or enthusiasm to write a post here (plus I’ve only made one thing this […]

Since the end of our IRL club meetings, I’ve found it hard to find the time or enthusiasm to write a post here (plus I’ve only made one thing this […]

Making an embroidery hoop picture is a great way to add some colour, and a dash of homemade, to a room. I have used scraps of fabrics and trims along […]
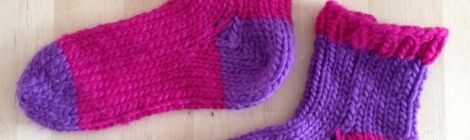
I am very pleased with myself as I have just finished knitting my first pair of socks! I attended a workshop at Berylune to learn how to knit toe up […]

Back in June, Homemaker kindly featured sew make believe in their ‘Voices from the Blogsphere’ column which made me sit up and take notice of this magazine which had hitherto […]
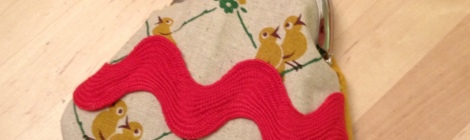
In a shocking turn of events, I managed to a) make it to our latest sew make believe meeting and b) (even more surprising) make something! That something was this […]
It is with a heavy heart that I announce that we will be closing the club as we know it at the end of this year. It has not proven […]

On Wednesday night, we gathered at Berylune for our book club chat. Overall, the group enjoyed the book although some more than others. A coming of age story of a […]

Originally posted on Notes From My Day:
The Sweetness at the Bottom of the Pie by Alan Bradley My rating: 4 of 5 stars I read this book as the…
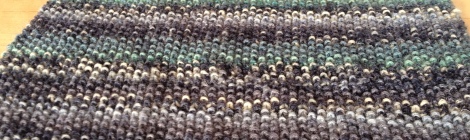
I recently knitted a simple moss stitch scarf. The yarn I selected was Drops Fabel in a self patterning shade. I cast on approximately 60 stitches and used 3mm knitting needles, […]

These tiny crochet guinea pigs by Kati Galusz are so cute. If I thought my crochet skills were up to it I would make myself a few of these! Image […]
